
What does solar panel installation involve on the day?
On installation day, we protect the working areas, fit the panels and supporting equipment, run the cabling, and connect the system safely. We then test the installation, explain how to monitor it, and provide the paperwork needed for the next steps.
Solar installation day is mainly a planned sequence of roof work, electrical work and testing. We protect the access routes, fit the mounting system and panels, connect the equipment, then check that the system is safe and producing power before we leave.
Before work starts
The survey and quotation should already have established the panel layout, cable route, inverter position and any battery location. If the roof is older, unusual or difficult to access, we allow for those details in the installation plan rather than making decisions for the first time on the day.
Scaffolding or another suitable access arrangement may be needed for safe roof work. We also need a clear route through the property for the cable run and access to the consumer unit. Moving fragile items and clearing the area around the electrical equipment helps the work proceed with less disruption.
Protecting the property
We set up the work area before bringing equipment inside. Roof tiles, floors and internal surfaces all need care, particularly in older houses, barn conversions and properties with finished living spaces beneath the roof. The installation team keeps tools and materials together, protects the working route and removes waste as the work progresses.
There may be drilling and some noise while the roof fixings and cable route are installed. Most of the disruption is concentrated around the roof, the inverter position and the consumer unit. We explain any isolation needed before switching off electrical circuits.
Fitting the roof system
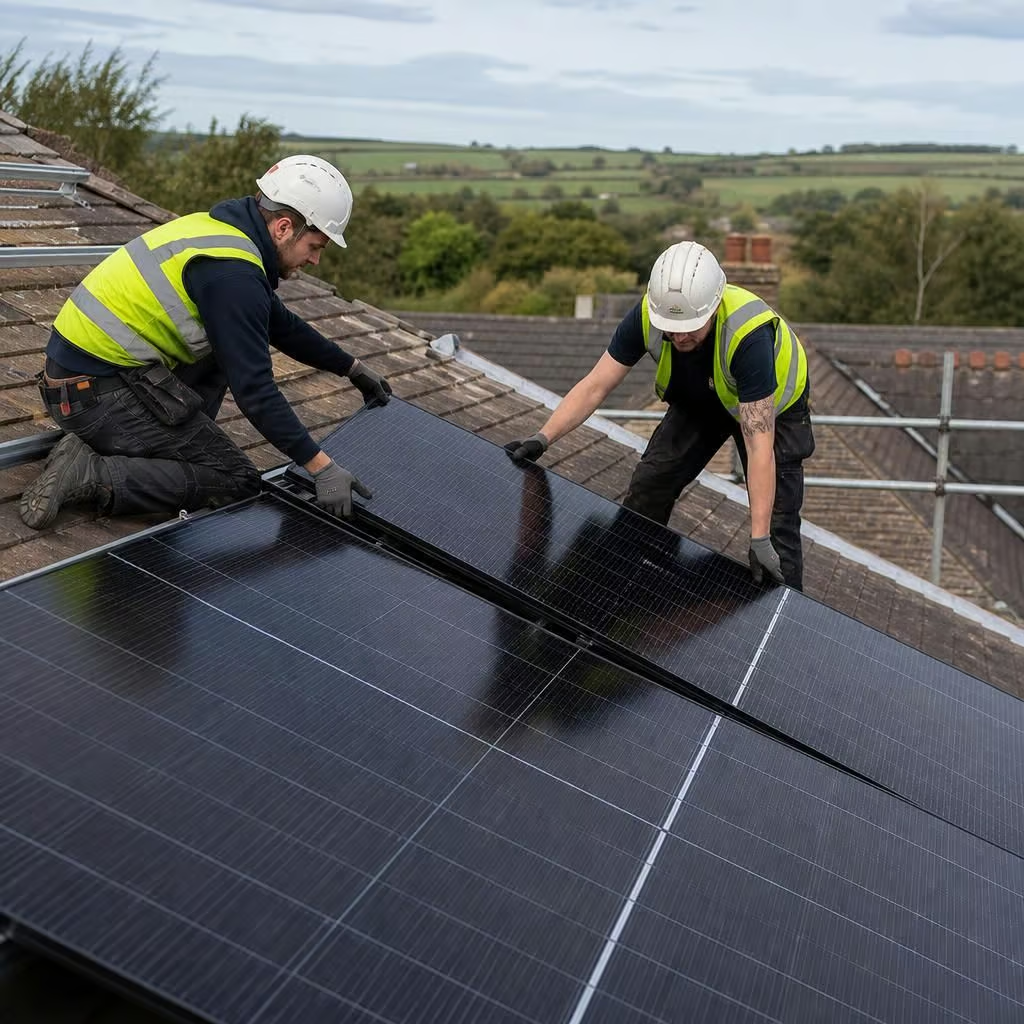
The mounting system is fixed to the roof structure in the agreed panel layout. We work around the roof covering and existing features such as roof windows, vents and chimneys. The panels are then secured to the rails and connected in the planned electrical arrangement.
Your roof covering and its condition can affect the work. If we find a problem that was not visible during the survey, we discuss it before changing the agreed work. We do not simply cover a damaged section or continue with a fixing that may compromise the roof.
Installing the inverter and cabling
The DC cable from the panels is routed to the inverter. We choose the route agreed during the survey, keeping cable runs as neat and protected as the property allows. The inverter changes the panels’ electricity into the form used by the home.
The inverter needs a suitable position with enough access for inspection and maintenance. It may be installed in a utility area, garage, outbuilding or another agreed location. If the system includes a battery, we fit it in the planned position and connect it with the necessary protection and controls.
Your consumer unit and existing wiring are checked as part of the electrical connection. An older installation may need additional protection or an upgrade before the solar system can be connected safely. We explain any required change rather than assuming that the existing board is suitable.
What happens if the weather changes?
Roof work depends on safe conditions. Wet, icy or excessively windy weather can affect access and lifting equipment. If conditions make the work unsafe, the installation needs to be rearranged or the outdoor part paused. Electrical testing and indoor preparation may still be possible, depending on the work remaining.
Testing before handover
Once the panels, inverter, battery if included and consumer unit connections are complete, we test the system in stages. We check the protective devices, cable connections, panel circuits, inverter operation and battery controls. We also look for faults that could affect safe operation or monitoring.
The system is commissioned only after those checks are complete. We show you the inverter and monitoring equipment, explain what the readings mean and run through the basic checks you may need later. Solar generation changes with daylight and weather, so the display will not show the same output every day.
Information you receive afterwards
We provide the installation and test information needed to operate and maintain the system. This includes the equipment details, electrical test results and user instructions. Keep these documents with the property records, especially if you later sell the home or arrange other electrical work.
Because the installation is carried out under MCS certification, the completed system can be supported by the documentation needed for the Smart Export Guarantee. If the installation is eligible for a grant or export arrangement, we explain the relevant application steps and the information required. Tariffs, eligibility and application rules can change, so these are checked for the property rather than assumed.
The final stage is a tidy handover. We remove packaging and installation waste, check that the working areas are left in order and make sure you know how the system operates. You should be left with a working installation, clear instructions and the records needed for its next steps.
Your electricity supply may need to be isolated while we make the final connection and carry out testing. We explain which circuits are affected before switching anything off, so you can plan around the interruption.
If the installation includes a battery, we check its charge and discharge settings during commissioning. We then show you how the system prioritises solar power, battery storage and electricity from the grid.